
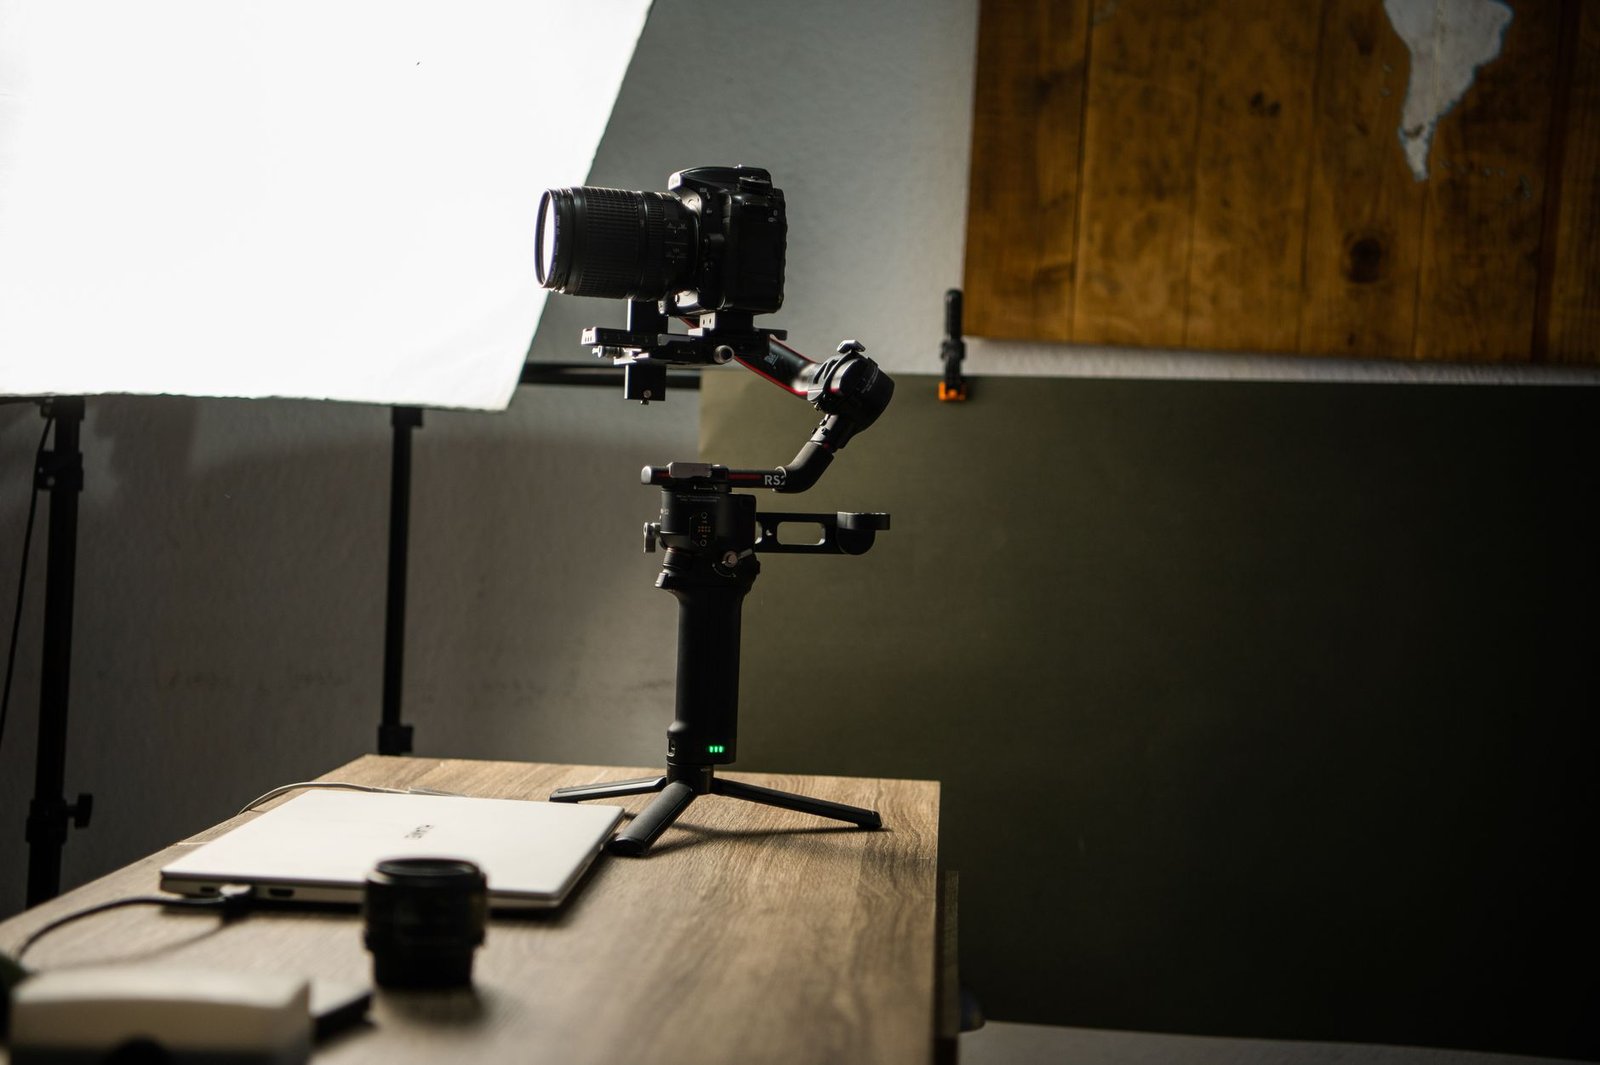

You don’t need a full studio to shoot clean product photos. A window, a white card, and ten minutes of setup will get you 90 percent of the way there. The trick is knowing how to control the light you already have. These seven tips will show you exactly how to do that, using tools you can find in any Swedish home or pick up for under 100 SEK.
TL;DR
- Shoot near a north-facing window between 9am and 4pm for soft, even light.
- Use a white foam board reflector (30 SEK) opposite your window to fill in shadows.
- Avoid phone flash and overhead ceiling lights – they create harsh, unflattering results.
- A simple white-paper backdrop curved from wall to table gives you clean, professional shots.
- Edit lightly in Snapseed or Lightroom Mobile to adjust exposure and white balance, but let good lighting do the heavy lifting.
Why better product photos at home start with lighting, not your camera
Most people buy a new phone or camera hoping it will fix their product photos. It won’t. A decent phone from the last three years has a sensor that’s sharp enough for web and social use. What makes a product photo look professional isn’t megapixels. It’s how the light hits the product.
Good lighting shows texture, shape, and colour accurately. Bad lighting flattens everything, hides detail, and makes a 5, 000 SEK product look like a flea-market find. The difference between a photo that converts and one that gets scrolled past almost always comes down to the quality and direction of the light.
Here’s the good news: you can control light without spending money. A window is a massive, free softbox. A piece of white foam board is a reflector. A sheer curtain is a diffuser. Once you understand how these three things work together, you can shoot better product photos at home than most people get from a cheap studio setup.
The one lighting rule that matters
Bigger light source equals softer shadows. That’s it. A small, hard light (like a bare bulb or your phone’s flash) creates sharp, dark shadows with defined edges. A large, soft light (like a big window or an overcast sky) creates gradual shadows that fade gently. Soft shadows almost always look better for product work because they show dimension without being distracting.
This is why window light beats a cheap ring light every time. A window might be 1 meter wide. A ring light is 25 centimeters. The window wraps around your product and fills in details. The ring light creates a flat, shadowless look that works for faces but makes products look like catalog clip-art.
Use window light the right way (and skip the expensive gear)
Not all window light is the same. Direct sun streaming through a south-facing window at noon will give you harsh shadows and blown-out highlights. A north-facing window on an overcast day in Gothenburg gives you soft, even light all day long. If you’re shooting product photos regularly, a north-facing window is your best friend.
Place your product 1-2 meters from the window. Start at 1 meter and move it closer or further while watching your phone screen. Closer gives you more contrast and intensity. Further away softens everything but you lose some brightness. The goal is to find the spot where the highlights are bright but not blown out, and the shadows are visible but not too dark.
Shoot between 9am and 11am, or between 2pm and 4pm. Early morning and late afternoon give you softer angles. Midday sun is often too harsh unless you diffuse it. If you only have a south or west-facing window, tape a white sheer curtain or a sheet of baking paper over it to soften the light. This turns your small, hard light source into a bigger, softer one.
What to do when it’s cloudy (hint: this is actually ideal)
Overcast days are perfect for product photography. The clouds act as a giant diffuser, turning the entire sky into a soft light source. You lose the drama of directional shadows, but you gain consistency. Every shot will have the same exposure and the same soft wrap-around light. If you’re shooting a batch of 20 products for a web shop, cloudy Swedish weather is your secret weapon.
On overcast days you can shoot closer to the window and even move your setup outside onto a balcony or patio (if it’s not raining). Just make sure your backdrop doesn’t blow away. The colour temperature stays neutral, so you won’t need to fix weird colour casts in editing later.
Add a reflector to fill in shadows (this one tool changes everything)
A reflector is the single most important tool for better product photos at home after your light source. It bounces light back onto the shadow side of your product, lifting detail out of the dark areas without adding a second light. You can buy a collapsible 5-in-1 reflector online for 150-300 SEK, but a piece of white foam board from any craft shop in Stockholm or Malmö costs 30 SEK and works just as well.
Position the reflector opposite your window, angled so it faces the product. If your window is on the left, your reflector goes on the right. Start 20-40 centimeters away from the product and adjust. You’ll see the shadow side brighten in real time. If the reflector is too close, it might show up in your frame or create a second highlight. Too far and it won’t do much. Move it until the shadows are soft and the detail is visible, but don’t eliminate shadows completely or your product will look flat.
White foam board gives you neutral fill. If you want slightly brighter fill, use the silver side of a car sunshade or wrap aluminum foil around a piece of cardboard (shiny side out). Silver reflects more light and adds a tiny bit of contrast. For most product work, white is safer because it doesn’t shift your colour or create hot spots.
DIY reflector ideas you already own
If you don’t want to buy anything, look around your home. A white bedsheet or pillowcase taped to the back of a chair works. A large white poster board or a piece of printer paper taped to a cardboard box works for small products. Even a white wall 30 centimeters behind your product acts as a reflector if your window light is strong enough. The key is that the surface is white or light grey and angled to catch the light.
Avoid coloured reflectors unless you want a colour cast. A yellow reflector will make your product look yellow. Same with blue, red, or any other colour. Stick with white or silver for neutral, accurate colour.
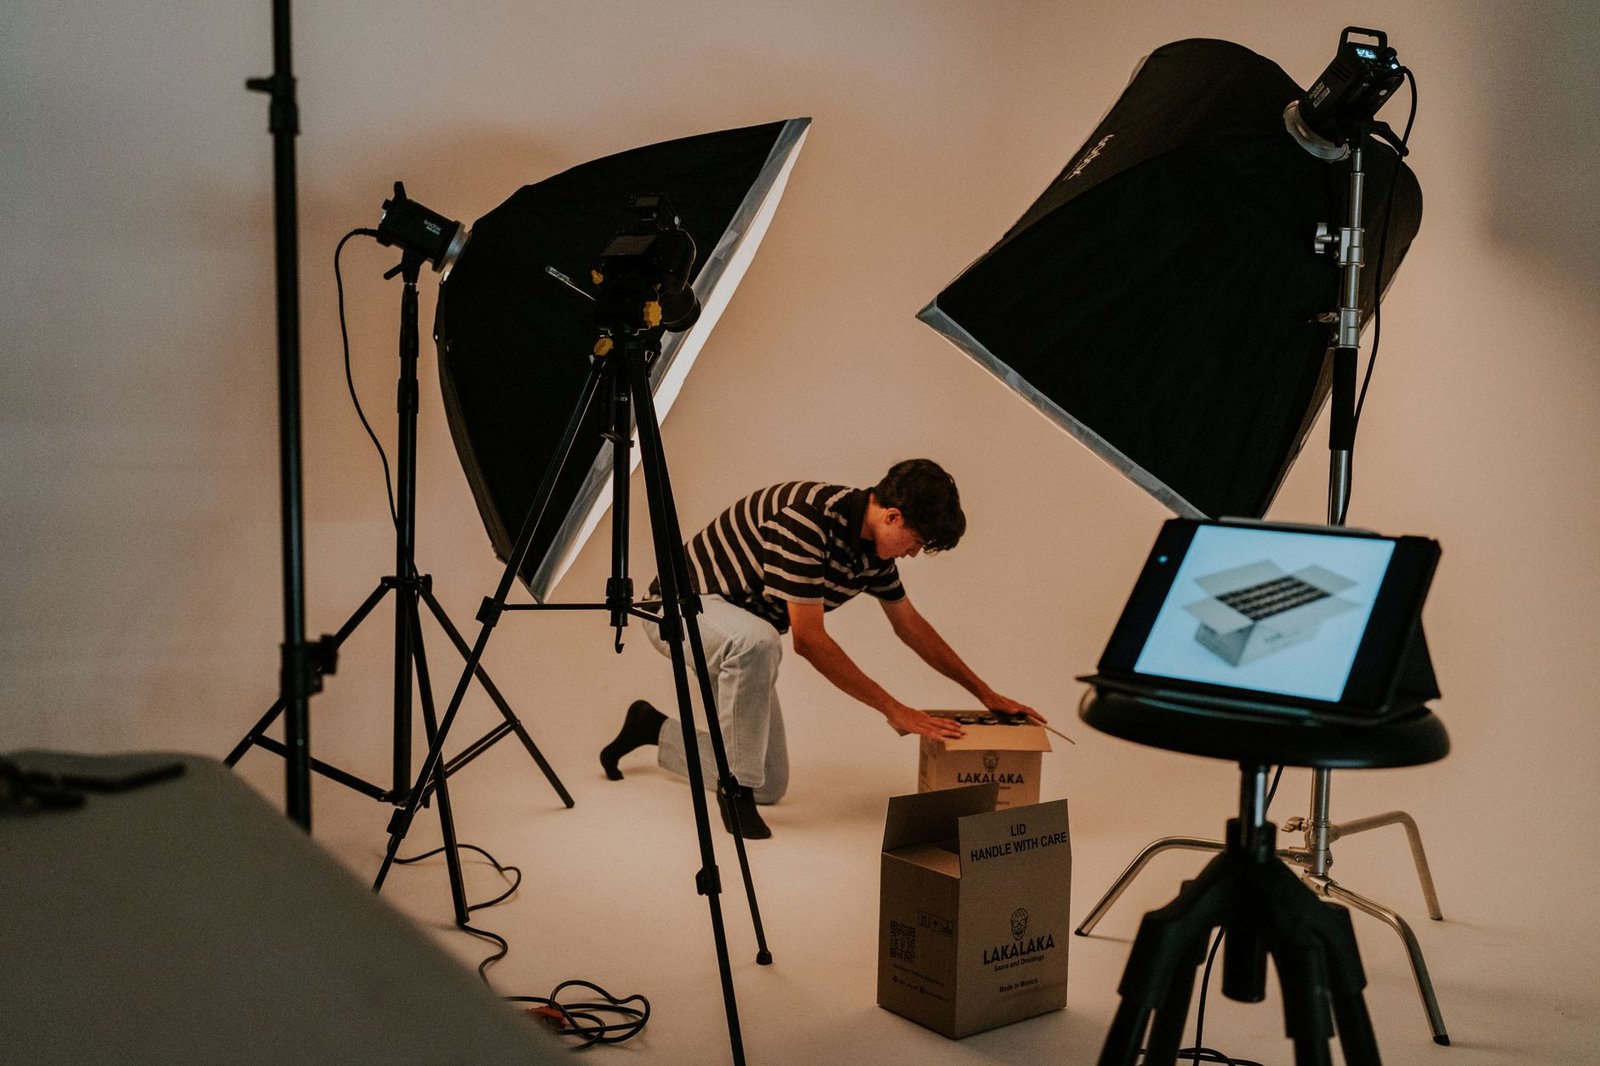
Set up a simple white backdrop in five minutes
A clean backdrop keeps the focus on your product and makes editing faster. The easiest setup is a sweep: a large sheet of white paper or poster board taped to the wall so it curves down onto your table with no crease. You can buy rolls of white backdrop paper online (150-400 SEK for a 1.5-meter roll), or just use a big piece of white cardstock from a craft store.
Tape the top edge to the wall about 50 centimeters above your table. Let the paper curve gently down and across the table surface. Don’t fold it or crease it. The curve hides the horizon line, so your product looks like it’s floating on white instead of sitting on a table. Place your product 30-50 centimeters from the backdrop so the shadow falls on the paper, not on the wall behind it.
If you don’t have white paper, use a white bedsheet, a white tablecloth, or even a large white t-shirt stretched flat. Iron it first so there are no wrinkles. Wrinkles catch light and create distracting texture. For small products (rings, earrings, cosmetics), a single sheet of A3 printer paper works fine as both surface and backdrop.
When to use a coloured or textured backdrop
White is ideal for e-commerce and clean product shots, but lifestyle or brand photography can benefit from a different surface. A light wooden table, a marble tile, or a neutral linen cloth adds context and warmth without competing with the product. Just make sure the backdrop is lighter than your product, or at least not too dark. Dark backdrops need more light and more careful exposure to keep detail in both the product and the background.
Avoid busy patterns, bright colours, or anything that draws the eye away from the product. If you’re unsure, shoot the same product on white and on your textured backdrop, then compare. The one where your eye goes straight to the product is the winner.
Better product photos at home: lighting tips that work for night shoots
If you need to shoot at night or your home doesn’t get good natural light, you can replicate window light with a single LED panel or a desk lamp. The key is to use one main light source, not multiple competing lights. Turn off all overhead ceiling lights and lamps in the room. They create mixed colour temperatures and ugly, conflicting shadows.
Buy a small LED panel with adjustable colour temperature (500-800 SEK online from Swedish electronics retailers like Kjell & Company). Set it to 5000K-5600K (daylight). Place it 1-2 meters from your product at a 45-degree angle, just like you would with a window. Add a white reflector on the opposite side. If the light feels too hard, tape a sheet of baking paper or a white plastic bag in front of the LED to diffuse it.
If you don’t want to buy an LED panel, use a desk lamp with a white lampshade and a daylight-balanced LED bulb (look for 5000K or “daylight” on the package at any Clas Ohlson or Biltema in Sweden). The lampshade acts as a small softbox. Position it the same way: 1-2 meters away, 45 degrees to the side, with a reflector opposite.
Why you should never use your phone’s flash
Phone flash is tiny, sits right next to the lens, and fires straight at your product. This creates flat, frontal lighting with no dimension and a hard shadow directly behind the product. It also blows out highlights and makes colours look washed out. There’s no situation where phone flash improves a product photo. Turn it off in your camera settings and leave it off.
If your room is too dark to shoot without flash, add a single external light source (even a desk lamp) instead. You’ll get better results every time.

Shoot in the right camera mode and settings
Most phones default to auto mode, which is fine for casual snapshots but not ideal for product work. Auto mode tries to balance the entire frame, so if you have a white backdrop, the camera will often underexpose the image to keep the white from blowing out. Your product ends up looking dark and muddy.
Switch to manual mode or pro mode if your phone has it. Set ISO to 100-400 (lower is cleaner). Set shutter speed to 1/60 or faster if you’re handholding, slower if you’re using a tripod. Adjust exposure compensation (+0.3 to +1.0) so your white backdrop looks white, not grey. Take a test shot and check the histogram if your camera app shows one. You want the graph to lean right (bright) without clipping the highlights.
If your phone doesn’t have manual mode, tap on your product before you shoot to set focus and exposure on the product, not the backdrop. Then slide the exposure slider up slightly (usually a sun icon next to the focus box) to brighten the frame. This keeps your product properly exposed even with a bright white background.
White balance matters more than you think
White balance tells your camera what colour “white” is. If you shoot under warm household bulbs without adjusting white balance, your product will look yellow. If you shoot near a window on a cloudy day with auto white balance, it might look too blue. Both are fixable in editing, but it’s faster to get it right in-camera.
In manual mode, set white balance to “daylight” (usually a sun icon) if you’re shooting with window light or a daylight-balanced LED. If your camera has a custom white balance option, point it at a white card or white paper in your lighting setup and set it. In auto mode, just make sure you’re not mixing light sources (window plus warm lamp) or your colours will be inconsistent.
You can fix white balance in post using Snapseed or Lightroom Mobile. Open the image, go to the white balance tool, and tap on something that should be neutral white or grey. The app will shift all the colours to make that area neutral, and the rest of the image will correct along with(it.
Edit lightly (because good lighting does most of the work)
If you’ve lit your product well, editing should take 2-3 minutes per image. You’re not fixing problems. You’re polishing. Open your photo in Snapseed (free on iOS and Android) or Lightroom Mobile (free with Adobe account). Start with these adjustments in this order.
First, straighten and crop. Use the crop tool to level the horizon and remove any distracting edges. Second, adjust exposure. If your image is slightly dark, bump exposure up by +0.3 to +0.7. If it’s too bright, bring it down. Third, adjust white balance if needed (tap the dropper on something white). Fourth, add a small amount of clarity or structure (around +10 to +20) to bring out texture and detail. Don’t overdo this or your product will look over-sharpened and fake.
Fifth, check your shadows and highlights. If the shadows are too dark, lift the shadow slider. If the highlights are blown out, pull the highlight slider down. Sixth, adjust saturation slightly if colours look dull (+5 to +10), but don’t push it or your product will look cartoonish. Save your edits as a preset so you can apply the same adjustments to the rest of your batch in one tap.
Tools worth learning (all free or cheap)
Snapseed is the best free mobile editor for product photos. It has all the tools you need and a clean interface. Lightroom Mobile is more powerful if you want to save presets and sync edits across devices, but the free version is enough for most people. Both apps let you export full-resolution JPEGs without watermarks.
If you’re shooting on a real camera and editing on a computer, try Darktable (free, open-source alternative to Lightroom) or the free version of Capture One. For quick background removal (if you need pure white with no shadows), remove.bg works well for simple products, though the free version limits resolution.
Don’t use Instagram filters or one-tap auto-enhance tools. They’re designed for faces and landscapes, not products, and they often shift colours in unpredictable ways. Manual edits take an extra minute but give you consistent, accurate results.
Key takeaways
- Shoot near a north-facing window between 9am and 4pm, or on overcast days for soft, even light that needs almost no editing.
- Use a white foam board reflector (30 SEK) opposite your light source to fill in shadows and add detail without a second light.
- Set up a simple white paper sweep backdrop in five minutes to keep focus on your product and speed up editing.
- Turn off phone flash and overhead ceiling lights – use one directional light source (window or LED panel) plus a reflector instead.
- Edit lightly in Snapseed or Lightroom Mobile to adjust exposure, white balance, and clarity, but let good lighting do 80 percent of the work.
Getting better product photos at home doesn’t require a big investment or a dedicated studio space. A window, a white card, and a few minutes of setup will get you clean, professional-looking shots that work for your web shop, Instagram, or any other platform. The lighting tips above work whether you’re shooting on a phone or a real camera, and they scale from one product to a hundred.
Try one tip on your next shoot. Set up near a window, add a reflector, and compare the result to what you were getting before. The difference will be obvious. If you get stuck or want feedback on your setup, send me a message and I’ll take a look.
Frequently Asked Questions
What's the best time of day to shoot product photos at home?
Shoot between 9am and 11am, or 2pm and 4pm, when the sun is high enough to give you soft, indirect light through a window. Avoid midday harsh sun and the golden-hour orange cast unless your brand specifically needs that warmth. Overcast days in Sweden give you beautiful, even light all day long.
Do I need expensive lights to get better product photos at home?
No. A north-facing window and a white foam board reflector (around 30 SEK at any craft store in Stockholm or Gothenburg) will beat cheap ring lights every time. If you do buy a light later, a single LED panel (500-800 SEK) with adjustable colour temperature is enough for most small products.
How far should my product be from the window?
Start 1-2 meters away from the window. Closer gives you harder shadows and brighter highlights. Further away softens everything but you lose intensity. Move your product back and forth while watching your phone screen until the shadows look smooth and the highlights don't blow out.
What's a reflector and why do I need one?
A reflector is any white or silver surface that bounces light back onto the shadow side of your product. It fills in dark areas without adding a second light source. Use white foam board, a cheap car sunshade, or even a white bedsheet taped to a chair. Position it opposite your window, angled toward the product.
Should I use the flash on my phone for product photos?
Never. Phone flash is tiny, harsh, and sits right next to the lens, which flattens everything and creates ugly shadows. Turn it off in your camera settings. If your room is too dark for window light, add a desk lamp with a white lampshade 1-2 meters away instead of using flash.
What's the simplest lighting setup for white-background product photos?
Tape a large sheet of white paper or poster board to the wall so it curves down onto your table (no crease). Place your product 30-50 cm from the backdrop. Position the setup 1 meter from a window, with the window to the left or right. Put a white reflector on the opposite side. Shoot straight on or at a slight angle.
How do I avoid harsh shadows in my product photos?
Use a larger light source or diffuse your window light. Tape a white sheer curtain or baking paper over the window to soften direct sun. The bigger and softer your light source, the softer your shadows. A 1×1 meter window gives softer light than a 30 cm desk lamp.
Can I shoot product photos at night at home?
Yes, but you'll need at least one continuous light source. A single LED panel (look for 5600K colour temperature) placed 1 meter away at a 45-degree angle, plus a white reflector opposite, replicates window light. Avoid mixing your LED with warm household bulbs or your colours will look off.
What colour temperature should I use for product photography?
Aim for 5000K-5600K, which matches daylight and looks neutral. If your LED panel or bulb lists 2700K-3000K, it's too warm and will make whites look yellow. Most phone cameras auto-correct this, but shooting in daylight-balanced light saves you editing time later.
How do I stop my product photos from looking yellow or blue?
Set a custom white balance. In your phone camera, tap on something white in the frame before you shoot. In a real camera, use the white-balance preset for "daylight" or "flash" depending on your light. If you forgot, you can fix it in Snapseed (free app) using the white balance slider in the Tune tool.
What's the best angle to light a product from?
Start with 45-degree side lighting: window or light to the left or right of your product, halfway between straight-on and directly to the side. This gives shape and dimension. Flat front lighting (light behind the camera) is boring. Top lighting works for flat-lay shots. Test three angles and pick the one that shows your product's texture best.
Do I need a light tent or softbox for small products?
Not if you have a window. Light tents (those white cube things) can make everything look flat and dull. A window plus reflector gives you more control and more natural-looking light. If you sell jewellery or glossy products and need to eliminate all shadows, then a small light tent (200-400 SEK) can help.
How do I photograph shiny or reflective products without glare?
Use a larger, diffused light source and shoot at a slight angle instead of straight-on. For metal or glass, you're photographing the reflection of your light, so make that reflection clean: a big white window or a white card. You can also use a polarizing filter (if your camera supports it) to cut some reflections.
What's the difference between hard light and soft light?
Hard light comes from a small or distant source (like a bare bulb or direct sun) and creates sharp, dark shadows with defined edges. Soft light comes from a large or diffused source (like a big window or overcast sky) and creates gradual, pale shadows. Soft light is almost always better for product photos.
How close should my reflector be to the product?
Start 20-40 cm away, angled so it bounces light onto the shadow side. Too close and it might appear in your frame or create a weird second highlight. Too far and it won't do much. Move it while watching your screen until the shadows lighten but don't disappear completely.
Can I use a ring light for product photography?
You can, but ring lights create a flat, shadowless look that works better for faces than for products. If you already own one, place it off to the side instead of shooting through the center, and add a reflector opposite to keep some dimension. A single panel light gives you more flexibility.
What's the cheapest way to start shooting better product photos at home?
Use what you have: a window, a white wall or poster board, and a piece of white foam board (30 SEK). Shoot on your phone. That setup costs almost nothing and will beat most cheap light kits. Add a 50 SEK clamp lamp with a daylight LED bulb if you need to shoot at night.
How do I know if my lighting is good before I shoot?
Look at the shadows. You want one clear shadow direction (from your main light), soft edges on the shadow, and detail visible in the shadow area (not pure black). If you see multiple competing shadows or no shadows at all, your lighting needs work. Take a test shot and zoom in to check.
Should I edit my product photos after shooting?
Yes, but lighting gets you 80 percent of the way there. Use Snapseed or Lightroom Mobile (both free) to adjust exposure, straighten the frame, and boost clarity slightly. Don't rely on editing to fix bad lighting. A well-lit photo needs 2-3 minutes of editing; a badly lit one takes 20 minutes and still looks off.
What's the biggest lighting mistake beginners make with product photos?
Shooting with overhead ceiling lights. They create ugly top-down shadows, often have a yellow or green colour cast, and make products look flat. Turn off all room lights and use a single directional source (window or lamp) instead. One good light is always better than three bad ones.
How do I shoot product photos if I don't have a window?
Use a single LED panel or a desk lamp with a white shade as your main light, placed 1 meter away at a 45-degree angle. Add a white reflector opposite. Keep all other lights off. Shoot in a small room with white walls so the walls act as big reflectors and soften everything.
Can I use my phone's portrait mode for product photos?
It's risky. Portrait mode uses software to blur the background, and it often messes up edges, especially on products with thin parts or transparent areas. If you want background blur, move your product further from the backdrop and shoot normally. Real depth-of-field always looks better than fake blur.
How do I light a product for Instagram or web use?
Bright, clean, and simple. Use soft window light or a diffused LED, a white or light-coloured background, and a reflector to keep shadows light. Instagram compresses images, so high contrast and deep shadows often look muddy. Aim for even exposure and edit for slightly brighter than real life.
What's the best background colour for product photos?
White or light grey for e-commerce and clean feeds. White makes editing easier and keeps the focus on the product. For lifestyle or brand shots, try a wooden table, a neutral tile, or a pale linen cloth. Avoid busy patterns or dark backgrounds unless your brand specifically calls for moodiness.
How long does it take to set up good lighting for product photos at home?
Once you know what you're doing, 5-10 minutes. Tape your backdrop, position your product near the window, place your reflector, take a test shot, adjust. The first few times might take 30 minutes as you experiment, but the same setup works for hundreds of products once you dial it in.