
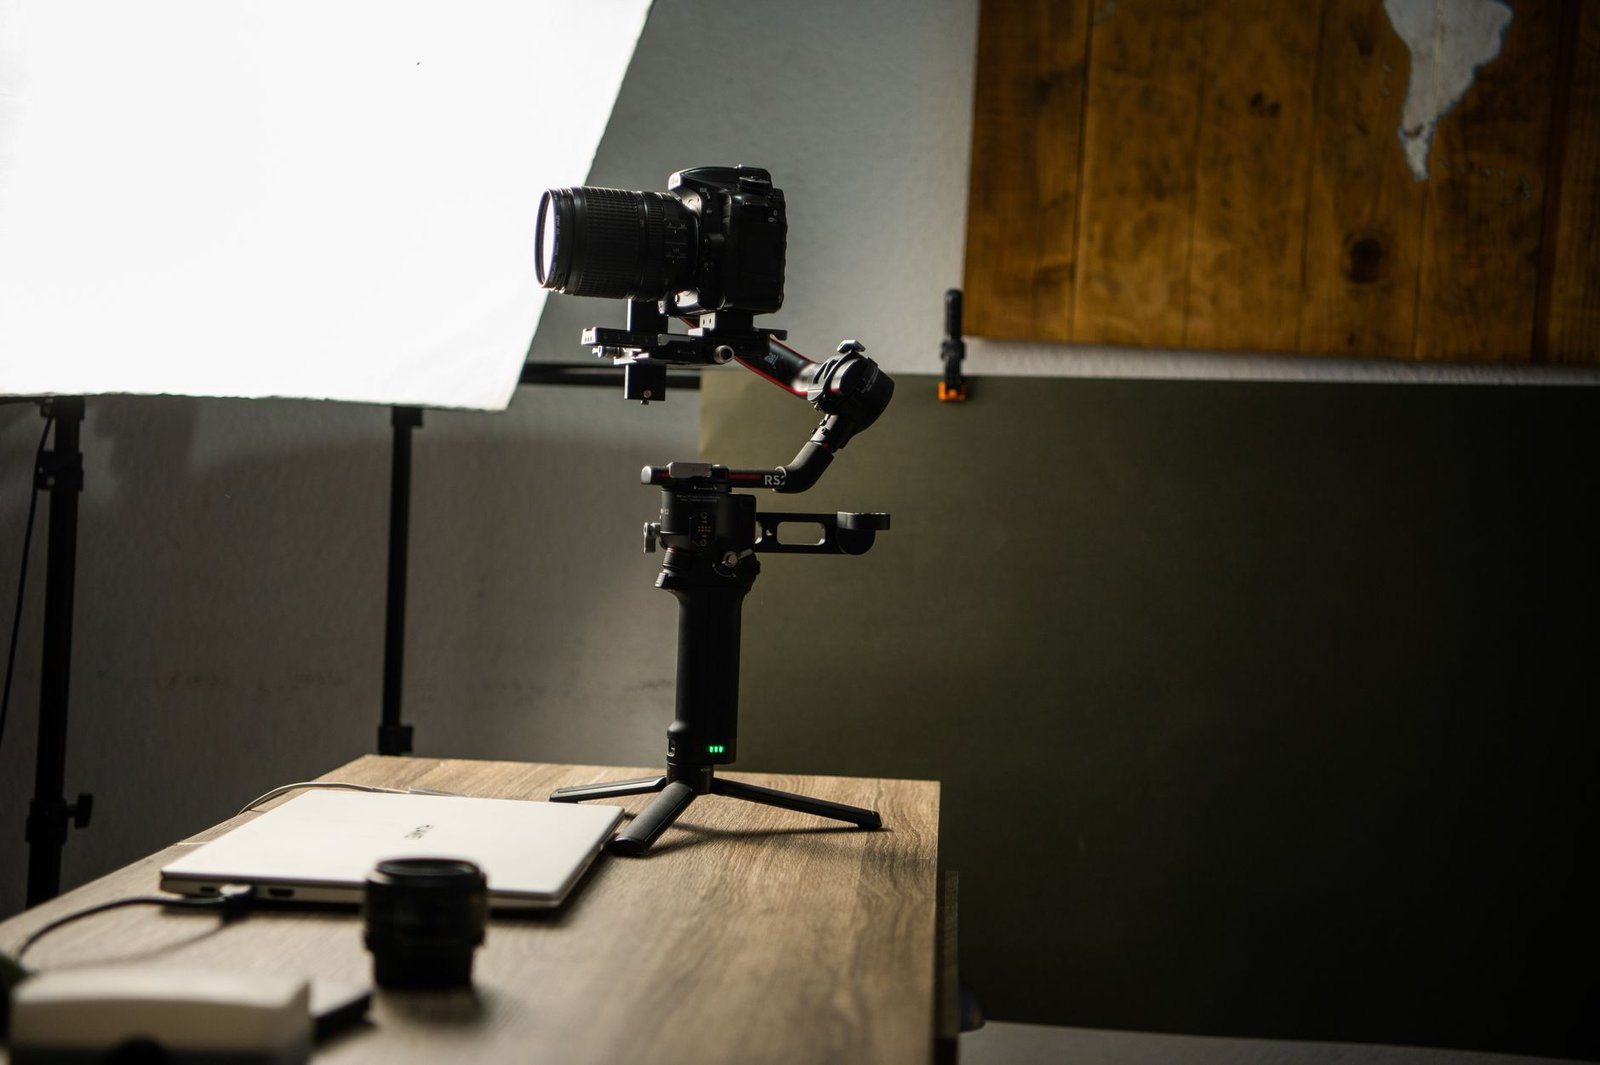

You’ve shot some footage on your phone or camera, and now you’re staring at a timeline in an editing app, not sure where to start. Good news: you don’t need film school or expensive software to make a clean, watchable video. These 7 simple video editing tips for beginners will get you from a folder of raw clips to a finished piece you can actually post.
TL;DR
- Cut on action or movement to hide your edits and keep the flow smooth.
- Use straight cuts for 90% of transitions; fancy wipes make your work look amateurish.
- Keep background music low (around 20-30% volume) so it supports your voice instead of fighting it.
- Export at the same resolution you filmed (usually 1080p) to avoid quality loss.
- Start with free tools like CapCut or iMovie and learn the basics before spending money on software.
1. Cut on action, not on stillness
The fastest way to make your edits invisible is to cut while something is moving. If you’re filming yourself picking up a mug, don’t cut before the hand moves or after it’s settled. Cut halfway through the reach. The viewer’s brain tracks the motion and doesn’t register the edit.
This works for any kind of movement. Someone turning their head, a door opening, a hand gesture. The action carries the viewer’s attention across the cut. When you cut on a static frame, the jump feels obvious and jarring.
Try it on your next edit. Find two clips where the subject is doing something, anything, and splice them in the middle of the motion. You’ll see the difference immediately. It’s one of those techniques that sounds too simple to matter, but it’s what separates a home video from something that feels intentional.
Why this matters for beginners
You’re probably working with footage that wasn’t shot perfectly. Maybe you moved the camera, or the lighting changed between takes. Cutting on action hides a lot of those inconsistencies because the viewer is focused on what’s happening, not on the technical details.
2. Stick to straight cuts (and skip the Star Wars wipes)
Every editing app comes loaded with transitions: dissolves, wipes, spins, page peels. Ignore almost all of them. A straight cut, where one clip instantly becomes the next, is what professionals use 90% of the time. It’s invisible, it’s fast, and it doesn’t distract from your story.
Beginners often think a video needs a different transition between every clip to look “edited.” The opposite is true. A parade of wipes and star effects makes your work look like a school project from 2005. If you want a softer transition, a quick dissolve (half a second or less) works for time jumps or mood shifts. That’s it.
Watch any video you admire on YouTube or Instagram. Count how many fancy transitions you see. Probably zero. They cut, and they cut clean. You should too.
When to break the rule
If you’re making a montage or a comedic sketch, a well-placed wipe can be a stylistic choice. But make it intentional, not a default. One or two in a whole video, maximum.
Simple video editing tips for beginners: use free tools first
You don’t need Adobe Premiere or Final Cut to learn the basics. CapCut is free, works on phone and desktop, and has everything you need: timeline editing, text, auto-captions, music, and export at full resolution. iMovie is free on Mac and iPhone and nearly as capable.
Start there. Learn how to trim a clip, how to layer audio, how to add text. Once you’ve finished ten videos and you know exactly what feature you’re missing, then consider paying for software. Most people never hit that ceiling.
The mistake beginners make is buying expensive software, getting overwhelmed by the interface, and giving up. The tool doesn’t make the edit good. Your decisions do. A clean story cut in CapCut will always beat a messy one cut in Premiere.
What you’ll learn with free tools
Trimming, sequencing, audio mixing, text overlays, color correction, and export settings. That’s the entire foundation. Everything else is a refinement. If you can do those six things, you can edit.
3. Keep your music low (and choose it last)
Background music should sit behind your voice, not next to it. A common beginner mistake is setting music at 50% volume or higher, which makes dialogue hard to hear and the whole video feel chaotic. Aim for 20-30% volume, or around -20 dB if your app shows levels.
Add music after you’ve edited the visuals and dialogue. If you start with a music track, you’ll be tempted to edit to the beat, and your pacing will feel forced. Let the story set the rhythm, then find a track that supports the mood.
For free music that won’t get flagged, use YouTube’s Audio Library or pay for a personal Epidemic Sound license (around 120 SEK per month). Don’t pull tracks from Spotify or the radio. They’ll get claimed or muted, and your video dies.
When to skip music entirely
If you’re talking the whole time, or if the natural sound (street noise, cafe ambience, workshop tools) adds to the scene, you don’t need music. Silence is a tool too. Don’t fill every second just because you can.
4. Export at the resolution you filmed
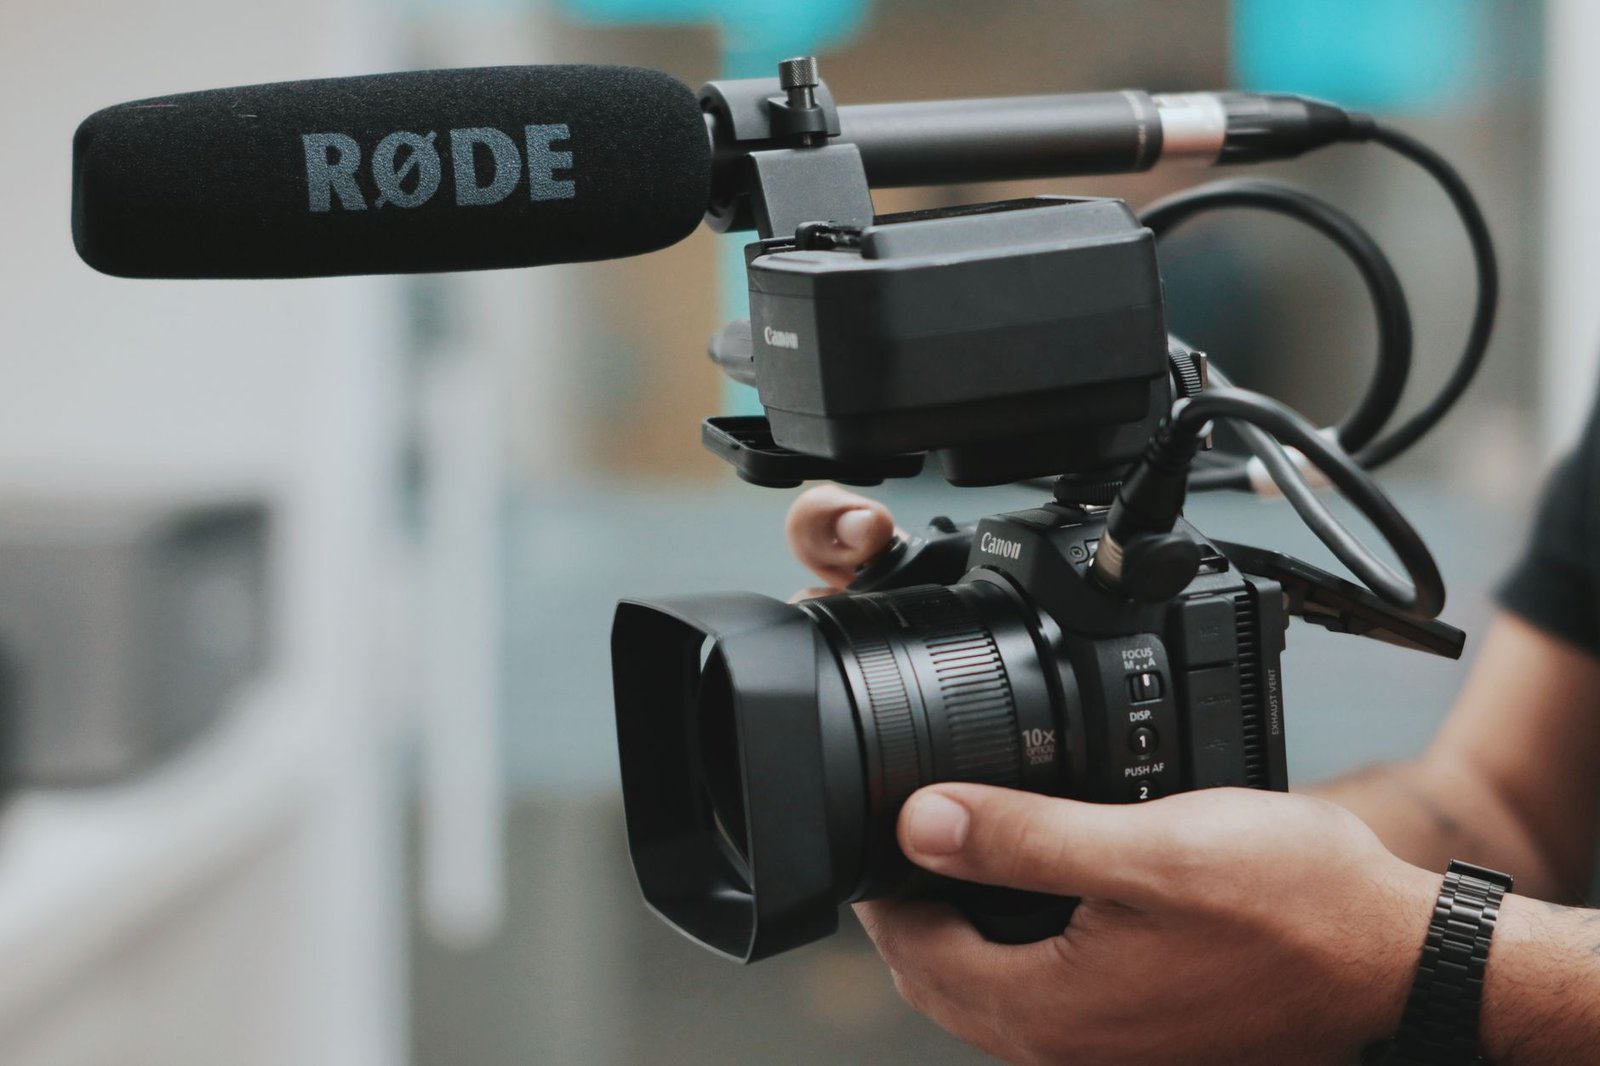
If you shot in 1080p, export in 1080p. If you shot in 4K, export in 4K. Don’t upscale (turning 1080p into fake 4K) and don’t downscale unless you have a specific reason (like file size limits).
In CapCut, this means choosing 1080p or 2160p in the export settings and setting quality to “high.” On iMovie, it’s automatic. The file will be larger, but Instagram, YouTube, and every other platform compress your video on upload anyway. Start with the best quality you have, and let the platform handle the rest.
Frame rate matters too. If you filmed at 25 fps or 30 fps, export at the same rate. Don’t switch between them mid-project unless you want stuttery playback.
What about bitrate?
Most apps pick a good default bitrate. If you have manual control, 10-15 Mbps for 1080p and 35-50 Mbps for 4K are safe targets. Higher is fine if you have the storage space, but you won’t see much difference on social platforms.
Video editing tips for beginners: learn three keyboard shortcuts
You can edit entirely with a mouse or your finger, but learning just three shortcuts will cut your editing time in half. Play/pause (usually spacebar), split or cut the clip (Cmd+B on Mac, Ctrl+B on Windows), and undo (Cmd+Z or Ctrl+Z). That’s it.
Play/pause lets you scrub through footage without reaching for a button. Split lets you chop a clip exactly where the playhead sits. Undo fixes every mistake instantly. With those three, you can stay in a rhythm instead of hunting through menus.
Once those feel automatic, add a fourth: delete selected clip. Now you can watch, mark, cut, and delete without touching the mouse. Your first edit might take two hours. Your tenth will take thirty minutes, and shortcuts are half the reason.
5. Add captions (because most people watch on mute)
A huge percentage of video views on Instagram, Facebook, and LinkedIn happen with the sound off. If your video relies on someone hearing you talk, you’ve lost that audience. Captions fix it.
CapCut has an auto-caption feature that transcribes your speech in seconds. Tap “Text, ” then “Auto captions, ” pick Swedish or English, and it generates the subtitles. You’ll need to fix a few mistakes (it sometimes mishears names or slang), but it’s faster than typing manually.
Style the captions so they’re readable: white text with a black outline or a semi-transparent background box. Keep them in the lower third of the frame so they don’t cover faces. And keep the font simple. This isn’t the place for decorative scripts.
Why Swedish creators should care
If you’re publishing in Swedish, auto-captions work well in most apps now. If you’re publishing in English for a wider audience, the transcription is even more accurate. Either way, captions make your content accessible and increase watch time. Do it.
6. Watch your edit twice before you export
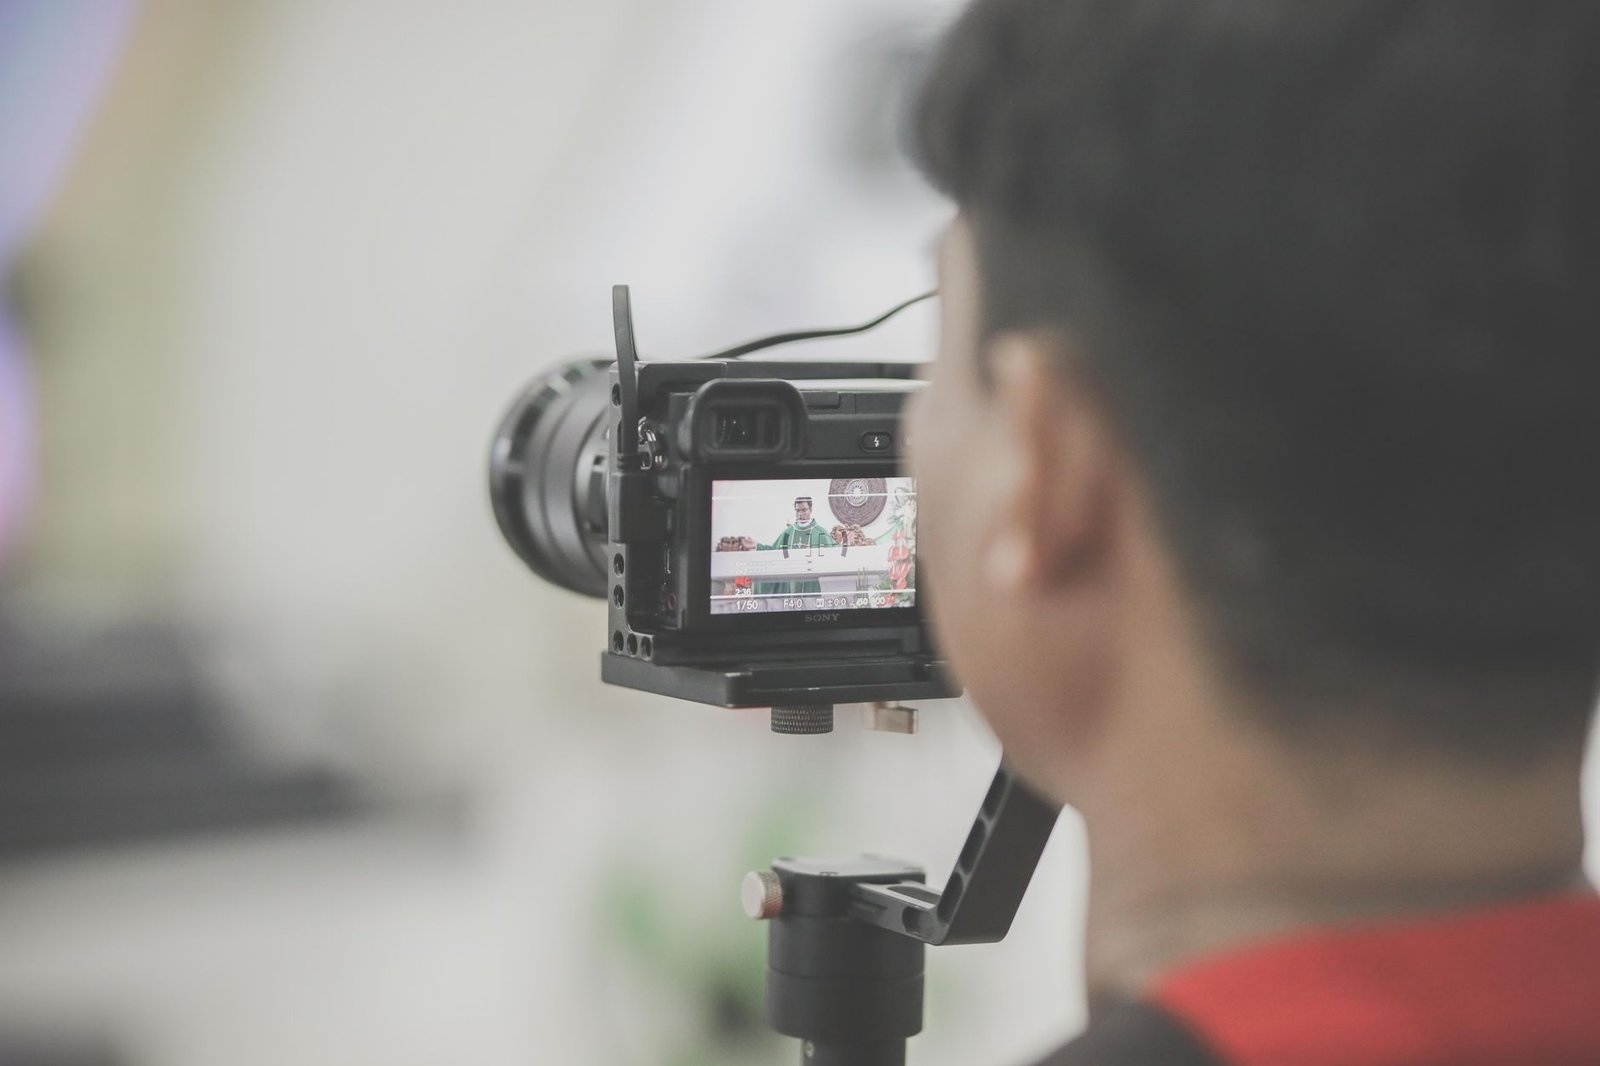
First watch: technical pass. Look for cuts in the wrong place, audio pops, text spelling errors, clips that are too long or too short. Fix everything you catch.
Second watch: viewer pass. Pretend you’ve never seen this before. Does it make sense? Does it drag anywhere? Is there a section you’re tempted to skip? If yes, cut it. Your audience won’t be more patient than you are.
This two-pass method catches most mistakes and saves you from publishing something with an obvious error in the first ten seconds. It also trains your eye. After a few projects, you’ll start noticing problems during the edit instead of after.
Get a second opinion if you can
If you have a friend or colleague who’ll watch a one-minute video and give honest feedback, use them. They’ll spot things you’re blind to because you’ve seen the footage thirty times. You don’t need a professional editor. You need someone who’ll say “I didn’t understand that part.”
7. Finish the video (even if it’s not perfect)
The best thing you can do as a beginner is finish. Export it, post it, move on. You’ll learn more from completing ten imperfect videos than from abandoning one that you’re trying to make flawless.
Your first edits will have mistakes. The pacing will be off, the color will be inconsistent, you’ll cringe at your own voice. Everyone does. But each finished project teaches you something, and by video five or six, you’ll look back at video one and see how far you’ve come.
Set a deadline. If you’re making a 60-second Instagram reel, give yourself two hours to edit and export. When the timer hits zero, you’re done. Export what you have. The algorithm doesn’t reward perfection. It rewards consistency.
Why this is the hardest tip
It’s easier to tinker forever than to call something finished and let people see it. But publishing is part of the learning loop. You need feedback, even if it’s just view counts and drop-off rates, to know what’s working. Finish the video.
Key takeaways
- Cut on movement to hide your edits; cutting on stillness makes every transition obvious and jarring.
- Use straight cuts for almost everything and avoid transition effects that distract from your story.
- Start with free tools like CapCut or iMovie and learn the basics before spending money on software you don’t need yet.
- Keep background music low (20-30% volume) and add it after you’ve edited the visuals, not before.
- Finish your videos and export them, even if they’re not perfect; you’ll learn faster by completing projects than by endlessly tweaking one.
These 7 simple video editing tips for beginners won’t make you a professional overnight, but they’ll get you from “I don’t know what I’m doing” to “I can make something people will watch” faster than any expensive course. Try one tip on your next edit. Then try two. By the time you’ve finished a handful of videos, this will all feel automatic.
If you get stuck on a specific edit or want to talk through a project, send me a message. I’m happy to help.
Frequently Asked Questions
What's the easiest free video editing app for complete beginners?
CapCut is the easiest free option for beginners. It works on both phone and desktop, has automatic captions, and the interface is simple enough to learn in one afternoon. Most small creators in Sweden start here before moving to anything more complex.
How long should my first edited video be?
Keep your first videos under 60 seconds. You'll learn faster by finishing short pieces than by abandoning a five-minute project halfway through. Once you can edit a clean 30-second clip, add length.
Do I need a computer to edit videos or can I use my phone?
You can edit entirely on your phone. Modern phones have enough processing power for 1080p editing, and apps like CapCut or iMovie (on iPhone) handle most tasks. A computer gives you a bigger screen and faster exports, but it's not required to start.
What's the biggest mistake beginners make when editing video?
Using too many transitions. Beginners often add a different wipe or dissolve between every clip. It looks amateurish. Stick to straight cuts for 90% of your edits, and your video will feel cleaner immediately.
How do I make my cuts feel smooth and not jarring?
Cut on movement or action. If someone is lifting a coffee cup, cut halfway through the motion, not before or after. The viewer's eye follows the action and won't notice the edit. Cutting on stillness feels abrupt.
Should I add music to every video I make?
No. Add music only when it supports the mood or fills dead air. If you're talking the whole time, music underneath often distracts. When you do use music, keep it 20-30% volume so it sits behind your voice, not over it.
Where can I find free music that won't get my video taken down?
Epidemic Sound offers a personal plan for around 120 SEK per month, and YouTube's Audio Library is completely free. Both let you use tracks without copyright claims. Avoid using Spotify songs or radio music; they'll get flagged.
How do I export my video without losing quality?
Export at the same resolution you filmed (usually 1080p). In CapCut, choose 1080p and set quality to "high." The file will be larger, but platforms like Instagram and YouTube compress it anyway, so start with the best quality you can.
What frame rate should I use for normal videos?
25 fps or 30 fps for standard video. Use 50 fps or 60 fps only if you plan to slow the footage down in editing. Higher frame rates make files bigger without any visible benefit at normal speed.
How do I add subtitles or captions to my videos?
CapCut has an auto-caption tool that transcribes speech in seconds. Tap "Text, " then "Auto captions, " and it generates subtitles. You'll need to fix a few mistakes, but it's faster than typing manually. Swedish speech recognition works well in most apps now.
What's a jump cut and when should I use one?
A jump cut is when you cut out a section of the same shot, so the subject appears to "jump" forward in time. Use it to remove pauses, mistakes, or filler words when you're talking to camera. It keeps the pace tight.
How do I fix shaky footage in editing?
Most editing apps have a stabilization tool. In CapCut, select your clip, tap "Edit, " then "Stabilize." It crops in slightly and smooths the motion. It won't save extremely shaky footage, but it helps with minor hand wobble.
Can I edit vertical video for Instagram and horizontal for YouTube from the same footage?
Yes, if you film in 4K or at least 1080p. Import the clip, then crop or reframe it to 9:16 for Instagram and 16:9 for YouTube. You'll lose some of the frame, so leave extra space around your subject when filming.
How much hard drive space do I need for video editing?
Plan for at least 50 GB free if you're editing on your phone, and 200 GB or more on a computer. A five-minute 1080p project with multiple takes can easily reach 10-15 GB before you export and delete the raw files.
What order should I edit in as a beginner?
First, arrange your clips in the right sequence. Second, trim each clip so it starts and ends cleanly. Third, add any text or captions. Fourth, add music or sound effects. Fifth, color-correct if needed. Last, export. Following the same order every time builds a workflow.
How do I choose which clips to keep and which to delete?
Watch everything once and mark the "keepers" where you nailed the line or the action looked good. Delete obvious mistakes right away. Then build your edit only from the marked clips. This saves you from scrolling through bad takes over and over.
Should I learn keyboard shortcuts or just use the mouse?
Learn three shortcuts: play/pause (usually spacebar), split/cut (often Cmd+B or Ctrl+B), and undo (Cmd+Z or Ctrl+Z). Those three will speed you up by half. You can learn the rest later.
How loud should my voice be compared to background music?
Your voice should peak around -6 dB to -3 dB, and music should sit around -20 dB to -18 dB. If your app doesn't show levels, a good rule is: you should be able to hear every word clearly without straining, and the music should feel like it's in the background, not competing.
What's B-roll and do I need it?
B-roll is extra footage you layer over your main clip, usually to illustrate what you're talking about. If you're explaining how to make coffee, B-roll would be close-ups of the beans, the pour, the steam. You don't need it for every video, but it makes longer videos less boring.
How do I make my colors look better in editing?
Start by lifting the shadows slightly and pulling down the highlights so nothing is pure black or blown-out white. Then add a tiny bit of saturation (5-10%). Most phones and apps have an "auto" color button that gets you 80% of the way there.
Can I edit video on an older phone or do I need the latest model?
You can edit 1080p video on any phone from the last four years. Exports will take longer on older models, and 4K might be slow, but basic editing works fine. If your phone gets hot or the app crashes, lower your preview quality in settings.
How do I sync audio recorded on a separate microphone?
Find a sharp sound that appears in both the camera audio and the external mic (a clap works well). Line up the two waveforms so the peaks match, then mute or delete the camera audio. Most apps let you zoom in on the waveform to get it perfectly tight.
What's the difference between a cut and a transition?
A cut is an instant switch from one clip to the next, no effect. A transition is a dissolve, wipe, or fade between clips. Cuts are invisible and professional. Transitions draw attention. Use cuts as your default.
How long does it take to edit a one-minute video when you're starting out?
Expect one to two hours for your first few projects. You'll spend time figuring out the tools, fixing mistakes, and re-watching. After a dozen videos, a one-minute edit usually takes 20-30 minutes.
Should I color-grade my footage or just leave it as-shot?
If your footage looks good straight out of the camera, leave it. Color grading is adjusting colors for mood or style, and it's easy to overdo as a beginner. Fix exposure and white balance if needed, but don't add heavy filters until you know why you're doing it.
How do I know when my video is finished and ready to export?
Watch it through twice. First time, check for technical mistakes (cuts in the wrong place, audio pops, text errors). Second time, watch it as a viewer: does it make sense, does it drag anywhere? If you answered yes and no, it's done. Export it.